Constrained by The City? Try Container Trees

When you were little, did you have a tree house? Did you pick apples in your uncle’s orchard? Did you build a secret fort under a pine tree, digging into the soft pine needles on the ground? Even if you’re done playing with trees, you still know trees are amazing. They give us shade, they improve air quality, they’re beautiful to look at. And fortunately, you don’t need a huge yard, or any yard at all to plant a tree. Even a city stoop, a backyard deck, or small terrace has room for a small tree in a container. Read up!
Which Tree?
Planting a container tree is a little different from planting a tree in the ground. It’s not more difficult, there are just a few extra things to think about. First, choose a tree that adapts well to container growing; small trees are better choices. They’re easier to move and easier to plant. (Root balls can be heavy, especially if they get wet.) Second, choose a slow-growing tree so you won’t have to re-pot often. Fast growing trees like arborvitae might need re-potting every other year, while slow growers like mugo pines can go four or five years before they need repotting. Finally, think about whether you’d like a tree that flowers and fruits, one that’s grown for decorative foliage, or one that will be evergreen year round. Flowers and fruits add extra beauty and interest, but you may find yourself cleaning up after fallen fruit. Deciduous trees have leaves of interesting shapes, sizes, and colors, while evergreens provide year round greenery.
10 Great Small Trees for Containers
1. Purple Leaf Plum (zones 4 - 9)

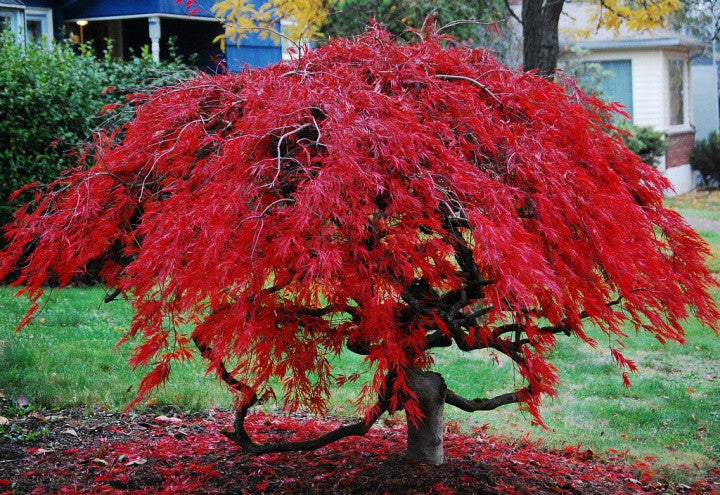
2. Japanese maple (zones 5 - 9)

3. Paperbark Maple (zones 4 - 8)

4. Smoketree (zones 4 - 8)

5. Serviceberry (zones 3 - 9; depending on the variety)

6. Crepe Myrtle (zones 7 - 11; some new hybrids are hardy to zone 6 or 5, but generally not in containers)

7. Kousa Dogwood (zones 5 - 8)

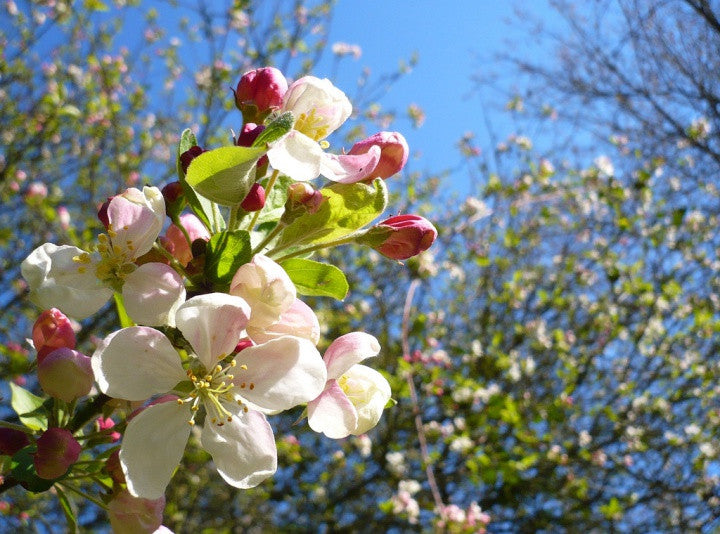
8. Crabapple (zones 4 - 8)

9. Dwarf Alberta Spruce (zones 2 - 8)

10. Mugo Pine (zones 2 - 8)

Trees in containers have less soil surrounding their roots than trees planted in the ground. This makes them more vulnerable to cold, so choose a tree that can stand up to your winter growing conditions. To do that, you’ll need to know your USDA hardiness zone; the colder your winters are, the lower the number of your hardiness zone.
PRO TIP: When you find your zone, subtract one zone for planting in a container, and another for every ten floors above street level where the tree will grow. For example, if you live in Zone 7 and you’re planting a tree at street level, choose a tree that’s hardy to Zone 6. If your balcony is on the 12th floor, choose a tree that’s hardy to Zone 5. This will make up for having less soil insulating the root ball.
Which Container?
How big does your container need to be? To choose your container size, first measure the diameter of your root ball. You should surround the root ball with 6 – 8 inches of insulating soil on every side, which means you’ll need a container that’s 12 – 16 inches larger in diameter than your tree’s root ball.
Do winter temperatures get below freezing where you live? If so, choose a frost resistant container. An unglazed clay pot will absorb water and may crack as the water in the clay freezes and thaws. Fiberglass, metal, and wood are all sturdy choices.
Does your container have drainage holes in the bottom? Most pots come with one drainage hole, but for a tree in a large container you should add a few more. It’s important that excess water be able to drain from the container so the roots of your tree don’t rot. To improve drainage, drill one-inch holes at six-inch intervals in the bottom of your container, then elevate your container a few inches off the ground (or deck). You can use small pieces of pressure treated lumber or special pot feet.
PRO TIP: Once you’ve prepped your pot, cut a piece of screen or landscape cloth to cover the holes you’ve just drilled. After all, we don’t want any precious, rich soil leaking out the holes.
How to Plant: Step by Step
Fall and spring are generally the best seasons for tree planting, because temperatures are moderate. Try to avoid transplanting when temperatures are above 80F; high temperatures will stress the tree. In fall, aim to plant 6 - 8 weeks before the first frost, so roots have time to establish themselves before the ground freezes.
Now let’s look at your tree. Slide it out of its pot so you can examine the roots. (It’s ok to cut away the container if the tree feels stuck, but try to keep the roots intact). If the roots are tightly stuck together in the area circling the root ball, tug them apart so they radiate out from the trunk. Also, check the trunk of the tree where it meets the soil. Do you see a slight flare? If not, use your hands to pull soil away from the trunk until you expose the flare. This tells you where the soil level should be. Burying the flare can lead to root rot.
Before you move the tree into its new container, measure the height of the root ball. Let’s say yours is 16 inches tall (from trunk flare to the bottom of the roots) and your container is 24 inches tall. 24 – 16 = 8. Leaving two inches of space at the top of the pot (so you don’t splash and spill each time you water) means you’ll need to make up 6 inches of height, so that’s how much soil you’ll add to the bottom of your pot before planting. Be sure to press the soil down firmly, so the weight of the tree doesn’t make it sink in the pot.
A word about potting mix
You should never use yard or garden soil for a container tree. Not only might it contain pathogens (including insects, bacteria, and fungal spores), but it is also very heavy. For drought tolerant trees, like smoketree, crabapples, and purple leaf plum, try a fast draining mix (like Opus Mix#3). For trees that appreciate more consistent moisture, like Japanese maple, try a moisture retentive mix (like Opus Mix#2). Opus Mix#1 is a good choice for most other trees, providing good drainage and moderate water retention.
Lift the tree into the center of the pot and hold it steady while you add soil all the way around the root ball. (It might be handy to have a friend help with this part.) Use your hands or a two by four to tamp the soil firmly into place. When you’ve added enough soil to be level with the top of the root ball, it’s time to start watering. You’ll do this in stages, each time watering until water reaches almost to the top of the pot. Let it be absorbed by the soil, then check the soil level. You may need to add more as the tree settles into place. Continue to water at intervals, until water flows out the drainage holes in the bottom of the pot. This means the potting soil is fully saturated.
Congratulations, you’ve planted a container tree! Every home feels homier with a tree by the front door. A tree says someone lives there. A tree says someone cares.